Kitchen Mistakes
Food News

The soup simmering mistake that turns a rich broth into a watery one

Yummy Editorial
Photo: The soup simmering mistake that turns a rich broth into a watery one

Introduction

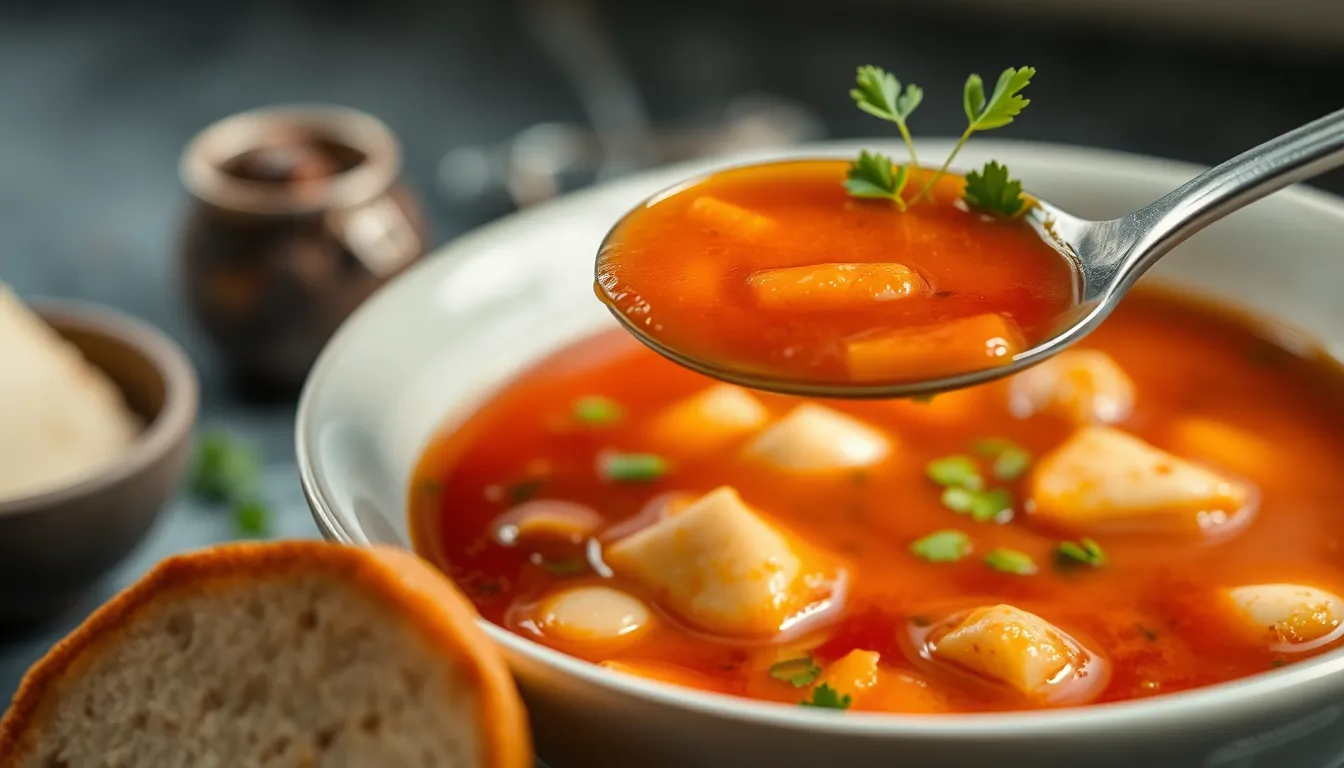
It's 6 PM on a Tuesday, and you've been nursing a pot of chicken soup for two hours. You lift the lid expecting that deep, golden liquid your grandmother somehow always achieved—the kind that coats the back of a spoon and makes the whole house smell like comfort. Instead, you're staring at something closer to flavored water. The vegetables are falling apart. The chicken is stringy. And that rich, silky texture you were aiming for? Nowhere to be found.

The culprit isn't your recipe or your ingredients. It's those aggressive bubbles you've been ignoring all afternoon.

The difference between simmering and boiling

Most home cooks don't realize there's a massive difference between a simmer and a boil, and that difference completely transforms soup. A true simmer is gentle—you should see small bubbles lazily breaking the surface every few seconds, with just a hint of movement in the pot. The liquid barely ripples. It looks almost boring.

A boil is the opposite: rapid, rolling bubbles, vigorous movement, steam pouring off the surface. It feels productive. It looks like something is actually happening. And that's exactly why so many of us crank the heat too high and leave it there.

When soup boils hard, the violent agitation breaks down the delicate proteins and emulsified fats that give broth its body. Collagen that should be slowly melting into silky gelatin gets blasted apart. Fat that should be incorporating into the liquid gets separated and sits on top in greasy puddles. Vegetables disintegrate into mush, releasing starch that clouds the broth instead of enriching it.

What happens to flavor at high heat

Here's the part that seems backwards: boiling soup doesn't concentrate it—it dilutes it. The rapid evaporation creates so much steam that it condenses on the lid and drips right back down into the pot as plain water. You're essentially adding water to your soup while simultaneously destroying its texture.

Meanwhile, a proper simmer allows controlled evaporation. The lid can sit slightly ajar, letting moisture escape gradually while the flavors concentrate and deepen. The gentle heat gives aromatics time to release their oils slowly. Herbs infuse instead of turning bitter. Meat becomes tender without shredding into strings.

You can actually taste the difference. Soup that's been properly simmered has layers—you notice the onions, then the herbs, then the subtle sweetness of the carrots. Boiled soup tastes flat and one-dimensional, like everything merged into a single muddy flavor.

How to recognize the perfect simmer

Essential kitchen gear for your recipes

Hand-picked tools we recommend for home cooks.

Flambo Skillet, Naturally Non-Stick

Flambo Skillet, Naturally Non-Stick

Pre-seasoned cast iron skillet for searing, baking, and stovetop-to-oven cooking.

Check price on Amazon
Astercook Reversible Charcuterie Board

Astercook Reversible Charcuterie Board

Deep carbonized wooden cutting board, reversible and knife-friendly for prep and serving.

Check price on Amazon
TurboBlaze Premium Ceramic Coating Air Fryer

TurboBlaze Premium Ceramic Coating Air Fryer

Air fryer with ceramic coating, 90°F–450°F range for crispy results with less oil.

Check price on Amazon

The visual cue is everything. Set your pot over medium-low or low heat, and watch carefully. You want to see one or two bubbles break the surface every second or two. There should be gentle movement around the edges, but the center of the pot should look relatively calm.

If you see constant bubbling across the entire surface, turn it down. If the liquid is rolling and churning, turn it way down. Your soup should look like it's barely awake, not running a marathon.

The sound matters too. A simmer whispers. You might hear an occasional gentle blip or the softest bubbling sound. A boil roars—you can hear it from the next room.

Temperature control tricks

Different stoves run hot or cool, which means "medium-low" varies wildly. Instead of trusting the dial, use your eyes and adjust as needed. Check your pot every fifteen minutes during the first hour until you've dialed in the right setting for your particular burner.

For broths that need long cooking times—bone broth, pho, hearty stews—consider moving the pot to the oven after bringing it to a simmer on the stove. Set it to 200°F and let it cook for hours with zero supervision. The surrounding heat maintains that perfect gentle temperature without any risk of boiling over or scorching the bottom.

A diffuser plate also works beautifully if your burner runs hot. The metal disk spreads heat more evenly and prevents hot spots that can trigger aggressive boiling.

When to adjust your approach

Not every soup benefits from the same treatment. Delicate seafood soups need the gentlest simmer possible—just a shiver on the surface. Bean soups can handle slightly more heat once the beans are tender. Cream-based soups should never boil at all, or they'll break and turn grainy.

The deeper the flavor you want, the longer and gentler the simmer should be. Quick vegetable soups can handle a slightly more active simmer since you're not trying to extract collagen or develop complex layers. But anything with meat bones, tough cuts, or dried legumes needs patience and low, slow heat.

Conclusion

Next time you're making soup, resist the urge to rush it with high heat. Turn that dial down lower than feels right, watch for those lazy bubbles, and give your broth the gentle treatment it deserves. Your spoon—and your taste buds—will know the difference.