Kitchen Mistakes
Food News

The rice rinsing step many cooks skip that changes the final texture

Yummy Editorial
Photo: The rice rinsing step many cooks skip that changes the final texture

Introduction

My friend Sarah texted me a photo last Thursday—a pot of rice so clumped together it looked more like a science experiment than dinner. "What did I do wrong?" she asked. I knew the answer before she even described her process. She'd skipped the rinse, dumping dry grains straight from the bag into boiling water, confident that rice was rice and cooking was cooking. That cloudy, starchy water swirling down the drain at my house? It's the difference between fluffy, separated grains and a gummy mass that sticks to your spoon.

Why this step matters more than you think

Rice arrives at your kitchen coated in a fine layer of starch—leftovers from milling, plus broken grain fragments and sometimes talc or glucose powder used in processing. When you cook unwashed rice, that surface starch dissolves into the cooking water, turning into a glue that binds grains together. The result feels heavy, sticky in the wrong way, with a texture that clings to your teeth.

In kitchens across Asia, rinsing rice isn't optional. It's muscle memory, passed down through generations who understood that the cloudy water pouring off those grains carries away everything that makes rice turn pasty. The ritual takes maybe three minutes, but it fundamentally changes what happens in the pot.

What actually happens when you rinse

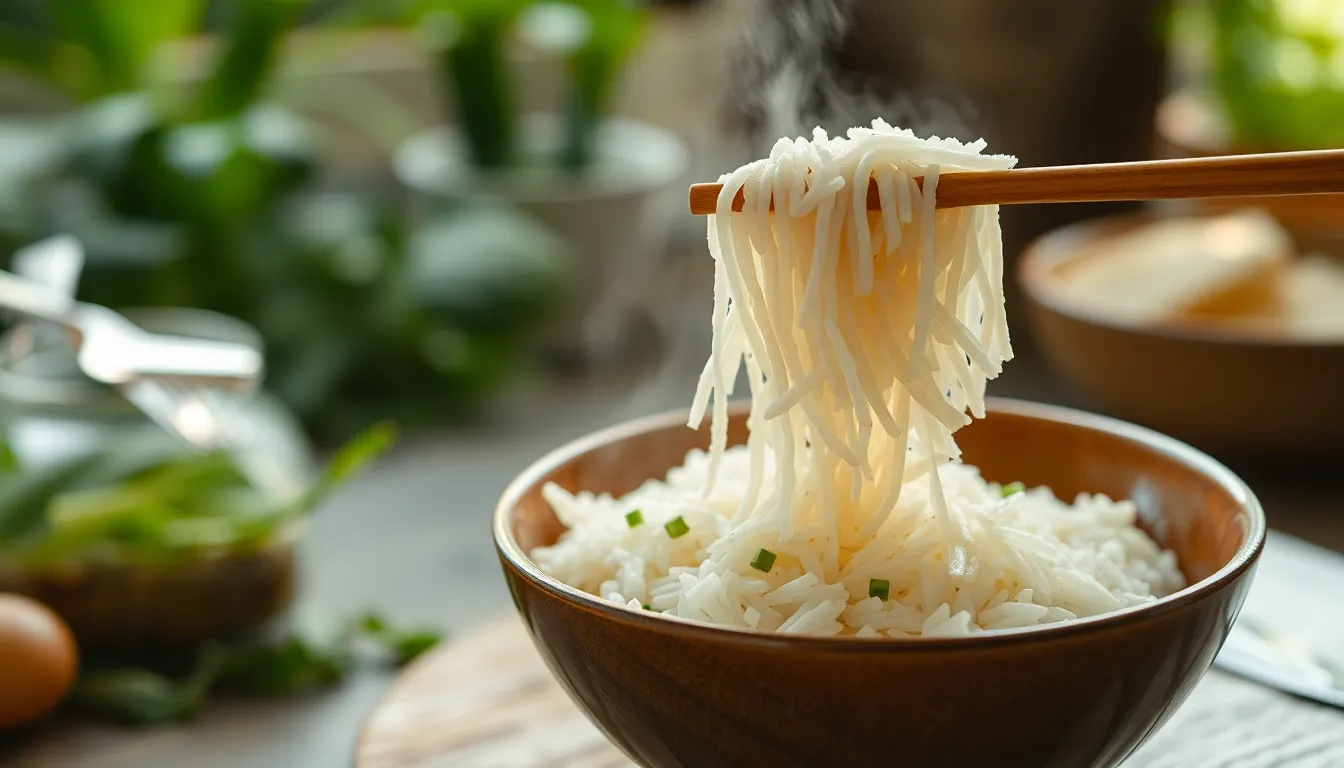
Fill a bowl with dry rice and cover it with cold water. Swirl the grains with your fingers—gently at first, then with more vigor. The water turns milky white almost immediately, like someone poured cream into it. That's pure starch washing away.

Pour off that cloudy water and repeat. The second rinse comes out lighter but still opaque. Third time, you're getting somewhere. By the fourth or fifth rinse, the water finally runs clear, or close enough. Your hands can feel the difference too—the grains become slightly slippery, cleaner somehow, ready to absorb water properly during cooking.

This process removes up to 20% of the surface starch, depending on the rice variety. What's left cooks into distinct grains that hold their shape, with a texture that's tender but not mushy, separate but not dry.

When you actually shouldn't rinse

Here's where it gets interesting: some dishes need that extra starch. Making risotto? Don't rinse—that surface starch is what creates the signature creaminess when you gradually add broth and stir. Spanish paella works the same way, with starch helping create the socarrat, that crispy bottom layer everyone fights over.

Rice pudding benefits from a little extra starch too, giving you that thick, creamy texture without adding flour or cornstarch. For these dishes, that "mistake" of skipping the rinse becomes the technique.

The method that works every time

Essential kitchen gear for your recipes

Hand-picked tools we recommend for home cooks.

Flambo Skillet, Naturally Non-Stick

Flambo Skillet, Naturally Non-Stick

Pre-seasoned cast iron skillet for searing, baking, and stovetop-to-oven cooking.

Check price on Amazon
Astercook Reversible Charcuterie Board

Astercook Reversible Charcuterie Board

Deep carbonized wooden cutting board, reversible and knife-friendly for prep and serving.

Check price on Amazon
TurboBlaze Premium Ceramic Coating Air Fryer

TurboBlaze Premium Ceramic Coating Air Fryer

Air fryer with ceramic coating, 90°F–450°F range for crispy results with less oil.

Check price on Amazon

Place your measured rice in a large bowl—you need room for the water to actually move around. Cover with cold water, at least two inches above the rice. Swirl vigorously with your hand for ten seconds, working the grains against each other. Pour off the water carefully, keeping the rice in the bowl.

Repeat this process until the water runs mostly clear. For white rice, that's usually four or five rinses. Brown rice needs fewer—maybe two or three—since it retains its bran layer and has less surface starch to begin with.

Some cooks use a fine-mesh strainer under running water instead. It's faster, though you lose the ability to see how clear the water's getting. Either method works as long as you're thorough.

What changes in the pot

Rinsed rice absorbs water more evenly during cooking. Each grain hydrates at the same rate, cooking through without those half-raw centers or overcooked outsides. The finished rice releases steam cleanly, fluffing easily with a fork instead of forming clumps that require aggressive stirring.

You'll notice the difference immediately when you lift the lid. Instead of a dense, sticky mass, you'll see individual grains with a slight sheen, each one distinct. The texture in your mouth feels lighter, cleaner, with that characteristic rice flavor coming through instead of getting muted by excess starch.

Tips for different rice varieties

Jasmine and basmati rice benefit most from thorough rinsing—their long grains should stay completely separate. Japanese short-grain rice gets rinsed too, though it'll still have a pleasant slight stickiness that makes it perfect for sushi or rice bowls.

Aged rice, especially basmati that's been aged for a year or more, needs gentler rinsing. The grains are more delicate and can break if handled too roughly. Two or three rinses usually suffice.

Instant or parboiled rice? Check the package. These varieties have been pre-processed and often don't need rinsing at all.

The simple truth

This isn't about following complicated rules or striving for perfection. It's about understanding what's actually on your rice and making a choice. That three-minute rinse transforms texture in ways no cooking technique can fix later. Your rice will taste like itself—clean, fluffy, exactly what you wanted when you started cooking.